Welcome to the colourful world of face painting! Whether you're a parent looking to add some magic to your child's next birthday party or an aspiring artist ready to embark on an exciting face-painting journey, you're in the right place. Face painting is more than just applying colour to faces – it's an art form that brings joy and wonder to both the painter and their canvas.
In this blog, we'll walk you through everything you need to know to start your face-painting journey. From selecting the right supplies to mastering basic techniques, we'll cover all the essentials that will help you transform from a complete beginner into a confident face painter.
Essential Face Painting Supplies for Beginners
Starting your face painting journey with the right supplies can make a huge difference in your results and confidence. Let's explore the essential items you'll need in your kit.
Professional Face Paints vs Cheap Face Paints
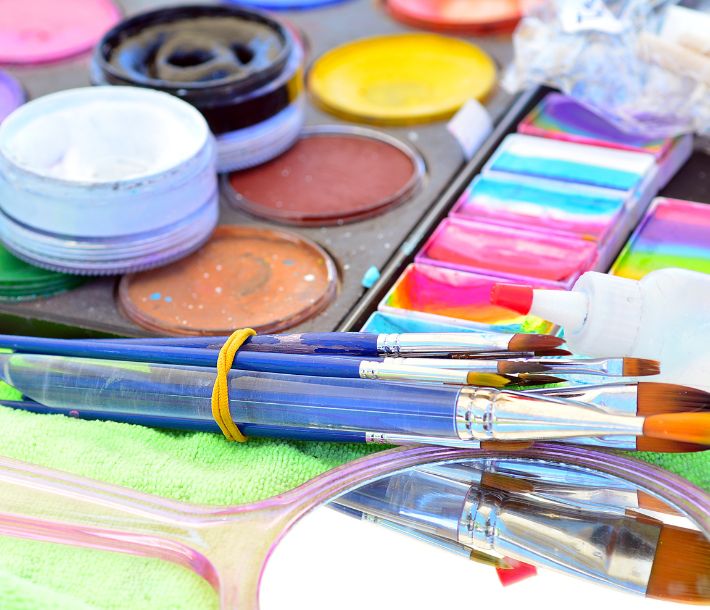
When you're just starting out, buying cheap face paints from your local discount store might be tempting. However, investing in professional face paints is crucial for several reasons. Professional-quality face paints offer better coverage and smoother application, and most importantly, they're specifically formulated to be safe for use on skin.
Wax-based paints and glycerin-based paints are the two main types you'll encounter. Wax-based paints containing paraffin wax offer excellent coverage and durability. They're particularly good for line work and detailed designs. Glycerin-based paints, on the other hand, provide a creamy consistency that's perfect for blending and creating smooth backgrounds.
Find Everything You Need at Shindigs
Shindigs offers an extensive range of professional-quality face and body paints to suit every artistic need and budget. Our collection includes renowned brands like Mehron, alongside our own high-quality face paint lines, available in various sizes from convenient 40ml jars to generous 250ml bottles.
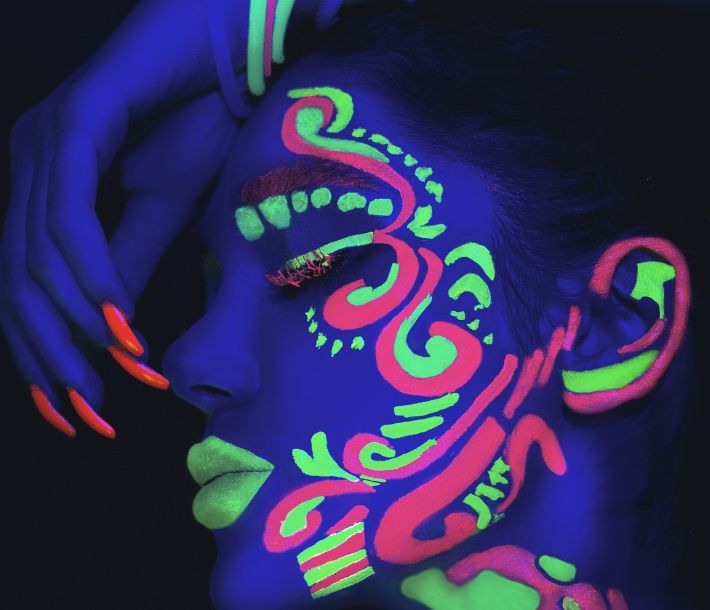
Whether you're seeking traditional colours or specialty products, Shindigs stocks everything from essential whites and blacks to vibrant UV neons and stunning metallic shades in gold, silver, and rose gold finishes.
For professional face painters and theatrical makeup artists, we have specialised products like the Mehron Global Face Paint range, which offers exceptional coverage and vibrant pigmentation with an impressive selection of regular colours, metallic finishes, and UV-reactive options.
The collection also includes convenient face paint kits and starter sets, perfect for beginners or those building their face painting kit. From the classic Clown White makeup to fluorescent face paint kits, every product is carefully selected to ensure safety and quality for all skin types.
For special effects enthusiasts, Shindigs also stocks an array of FX products, including the versatile FX 12 Colour Palette and specialised items like glow-in-the-dark makeup cream. Their body art range encompasses both cream-based and water-based options, ensuring artists can achieve their desired effects, whether creating quick party looks or elaborate body art designs.
Must-Have Face Painting Brushes and Tools
The right brushes can make or break your face-painting designs. As a beginner face painter, you'll want to start with a basic selection of face painting brushes that allow you to create various effects and designs.
Round brushes are your workhorses for line work and details. Look for brushes with a sharp point that can create both thin lines and thicker strokes. A #2 round brush is perfect for starting out, as it offers versatility for different techniques.
Flat brushes are essential for broader strokes and filling in larger areas. The width of the brush helps you paint quickly while maintaining control. A 3/4 inch flat brush is a good size to begin with.
With its distinctive angled tip, the dagger brush is particularly useful for creating dynamic strokes and precise edges. As you progress in your face painting skills, this brush will be invaluable for creating butterfly wings and other detailed designs.
Face-painting sponges are another crucial tool in your kit. High-density sponges help you create smooth, even backgrounds and blend colours effectively. Look for half-circle sponges or petal sponges, as each serves a different purpose in your face-painting technique.
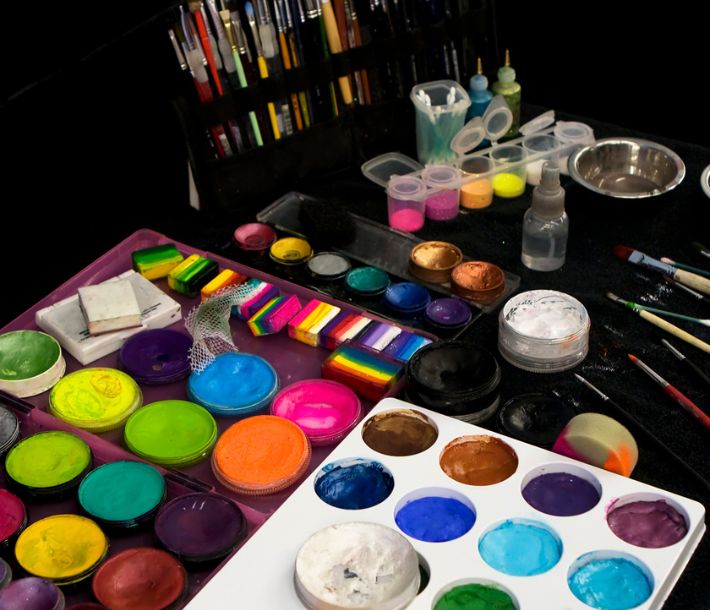
The quality of your tools can significantly impact your work, so it's worth investing in accessories that will enhance your technique. A spray bottle filled with clean water is essential for keeping paints at the right consistency and refreshing your palette throughout the day.
Small water pots for brush cleaning, a selection of cosmetic glitters (ensuring they're cosmetic grade and safe for skin use), and barrier spray for setting completed designs are all valuable additions.
Don't forget practical items like spare towels, cotton buds for quick touch-ups, and a wet wipe for cleaning brushes. Store everything in a clear, compartmentalised case to keep your tools organised and easily accessible during painting sessions.
Basic Face Painting Tips and Tricks
Now that we've covered supplies let's dive into the fundamental techniques that will form the foundation of your face-painting skills.
Brush Techniques
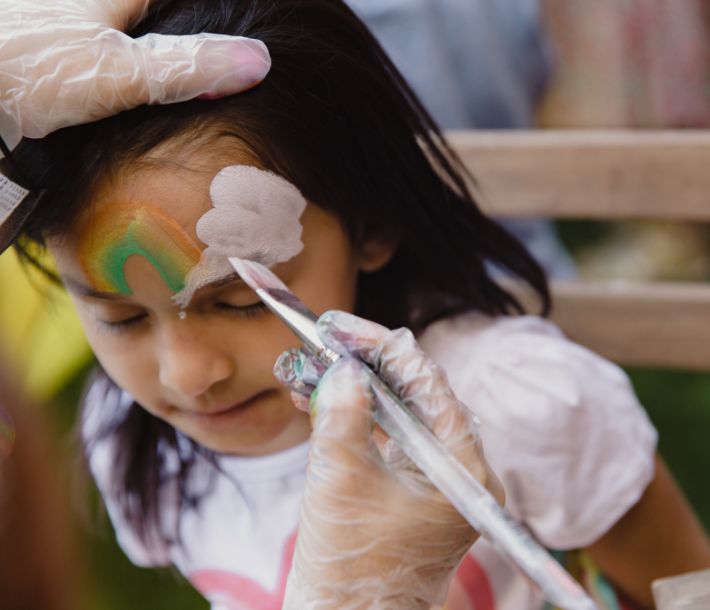
The key to professional-looking face paint designs lies in your brush control. Start by learning how to hold your brush - grip it like a pencil about halfway up the handle. This gives you the best balance between control and flexibility for brush strokes.
One of the most important skills to master is loading your brush correctly. Always wet your brush before dipping it into the paint. The phrase "brush wet, paint dry" is a mantra among fellow face painters. This helps you achieve the right consistency and prevents your paints from becoming waterlogged.
When creating lines, use just the tip of your brush for thin lines and more pressure for thick lines. Practice making straight lines, curves, and swirls on your practice board before working on a child's face. Remember, the very tip of your brush is your best friend for detailed work.
Working with Face Paint Cakes
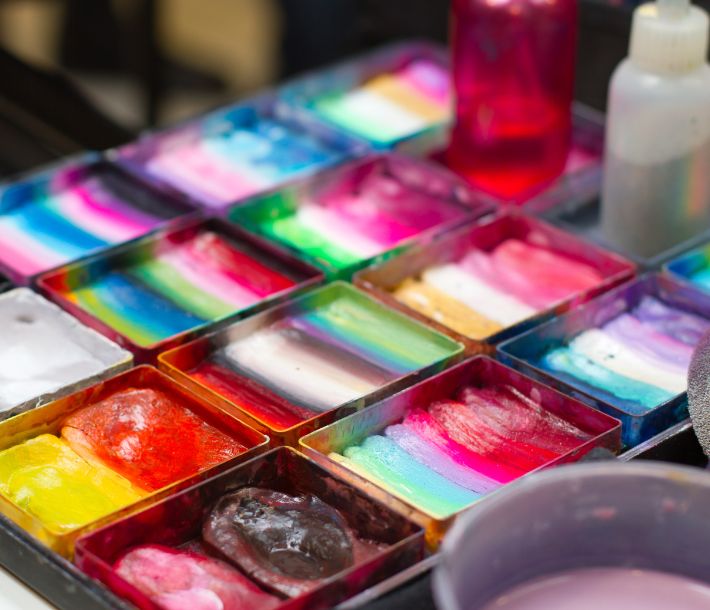
Face paint cakes, including split cakes, are essential tools in your kit. A split cake contains multiple colours in a single cake, allowing you to create beautiful rainbow effects with one stroke. The technique remains the same whether you're using a small or large split cake.
To use a rainbow split cake effectively, dampen your brush or sponge lightly - you want it wet enough to activate the paint but not so wet that it becomes runny. Load your one brush by stroking it across the colours in one direction. This creates a perfect blend of colours that you can then apply to the skin.
Adding Sparkle
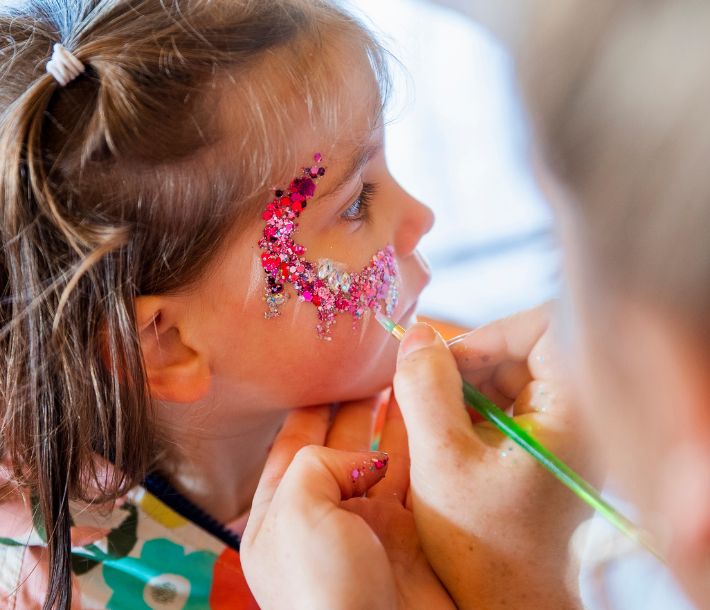
Nothing adds magic to face painting quite like glitter. However, it's crucial to use only cosmetic-grade glitter—craft glitter can be dangerous if it gets into the eyes or is accidentally ingested.
When adding glitter to your designs, timing is everything. Apply it while the face paint is still slightly tacky for the best adherence. You can use loose glitter, glitter gel, or holographic glitter to create different effects. For precise application, try using a small, slightly damp brush to place opaque glitter exactly where you want it.
Step-by-Step Face Painting Designs
Let's put these techniques into practice with some beginner-friendly designs:
Butterfly Wings
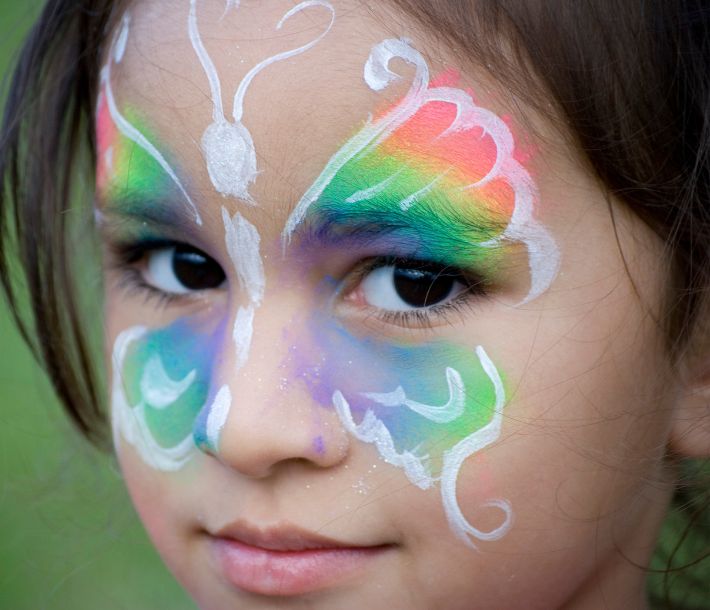
Begin by creating a curved wing shape from the centre of the forehead down to the cheek using purple or pink as your base colour. Add darker shades of the same colour to create wing patterns, then outline in black. Finish with white dots, swirls, and a sprinkle of cosmetic glitter. The design can be completed in under 15 minutes, making it ideal for fidgety little ones.
Galaxy
The Mystical Galaxy design creates a mesmerising celestial look perfect for both adults and children. Begin by blending deep purple and midnight blue across one half of the face, working outwards from the centre. Using a small sponge, dab white paint in circular motions to create stars, then add larger stars with small crosses at their points.
Finally, use silver glitter paint to add shooting stars and constellations, focusing on the forehead and cheekbone areas for maximum impact.

The Wicked Witch
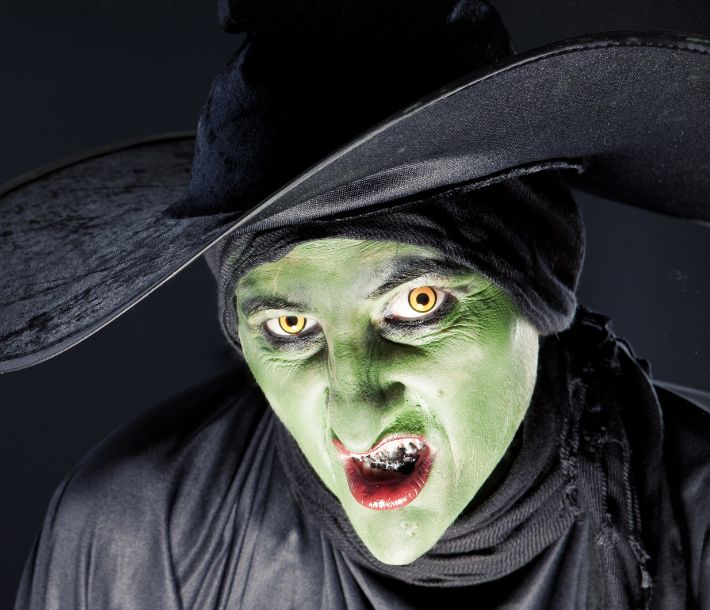
Deliver a spellbinding transformation that works brilliantly for adults and older children. Begin with a light green base across the face, blending darker green around the cheekbones and forehead for depth. Using black paint, create dramatic eyebrows, sweeping them upward at sharp angles.
Add warts using a mixture of brown and green paint with textured dabbing motions, then highlight them with darker shades. Complete the look by painting fine lines around the eyes and mouth to create a weathered, mysterious appearance.
The Shimmering Mermaid
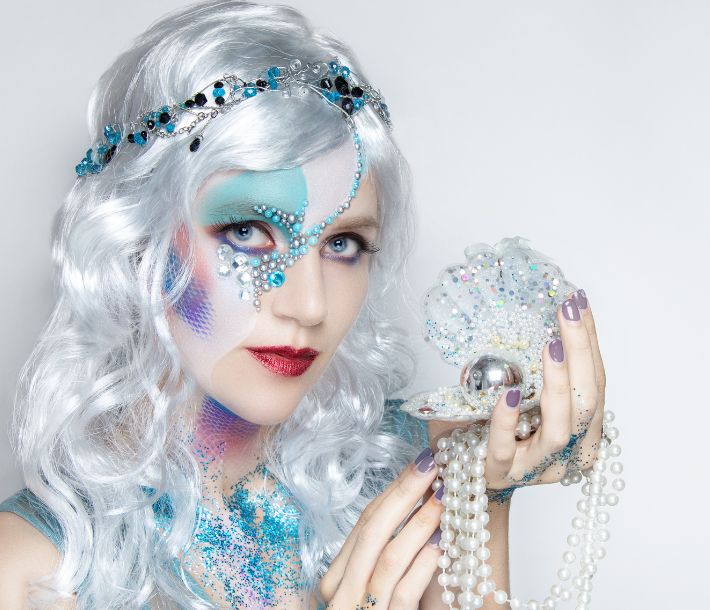
This look transforms faces into an underwater fantasy. Begin by applying a base of light blue or turquoise paint, then use fishnet stockings as a stencil to create realistic-looking scales across the forehead and cheeks.
Layer different shades of blue, green, and purple to add depth to the scales. Create small clusters of bubbles using white paint dots of varying sizes, and add touches of pearlescent paint or cosmetic glitter to create an ethereal, underwater shimmer.
Halloween Face Paint
Face painting is a brilliant way to transform your Halloween look, and with a few clever techniques, you can create stunning designs that last throughout your spooky celebrations. Start by investing in high-quality, water-based face paints that are specifically designed for skin use, as these will provide better coverage and staying power than cheaper alternatives.
To achieve professional-looking results, work in thin layers rather than trying to achieve full coverage in one go, and always allow each layer to dry completely before adding additional details. You can even add latex wounds or costume scars to perfect your spooky look.
Keep a spray bottle of water and a selection of different-sized brushes handy – larger, flat brushes work well for base colours and coverage, whilst fine-tipped brushes are perfect for intricate details and line work.
Here are some popular Halloween designs you can recreate at home:
The Friendly Spider-Web
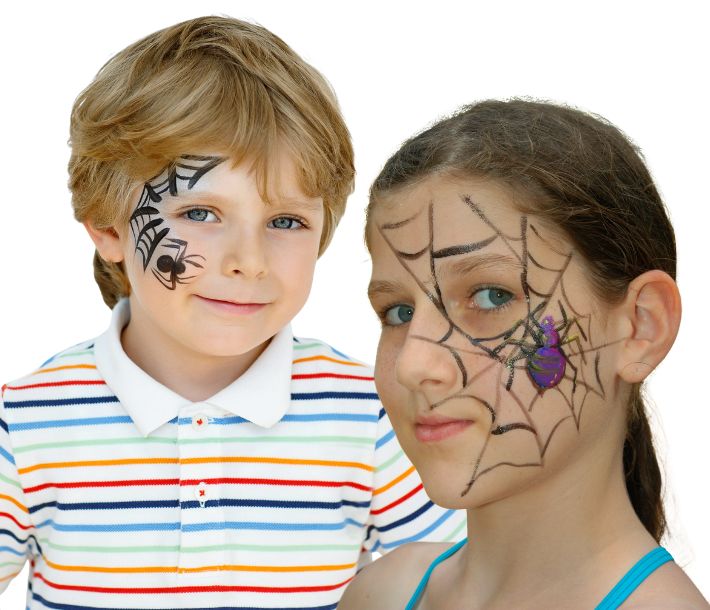
This is perfect for younger children who want something spooky but not scary. Start with a white base on one side of the face, then use black paint to create a central web on the cheek. Draw the web by making straight lines radiating from a central point, then connect them with curved lines to form the web pattern.
Using black paint, add a small, cartoon-style spider complete with googly eyes and a cheeky smile. Clean your brush on a paper towel, then finish with small white dots around the web to make it sparkle.
The Sugar Skull
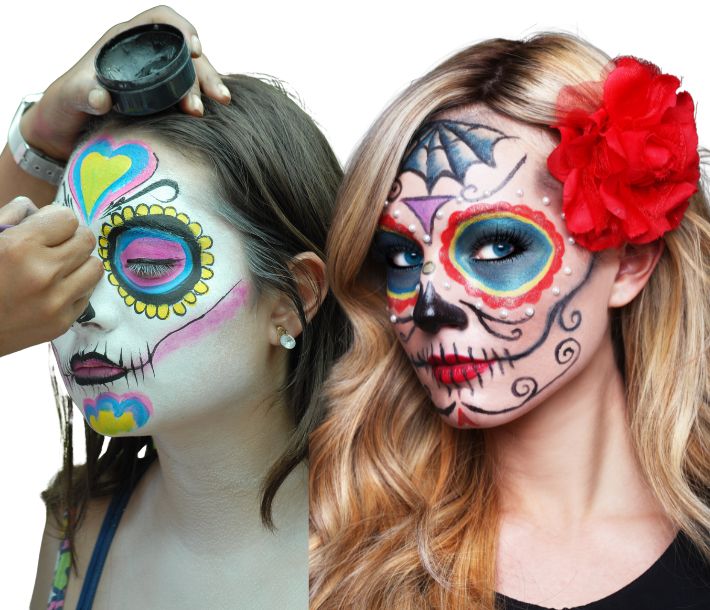
The Classic Sugar Skull offers a striking Day of the Dead inspired design suitable for older children and adults. Start with a solid white face paint base across the entire face, allowing it to dry completely. Draw large circles around the eyes using black paint, then add decorative flowers and swirls in bright colours like turquoise, pink, and orange.
Create delicate dots and patterns around these features using the end of a fine brush, finishing with small flowers on the forehead and chin. This intricate design typically takes about 30 minutes to complete.
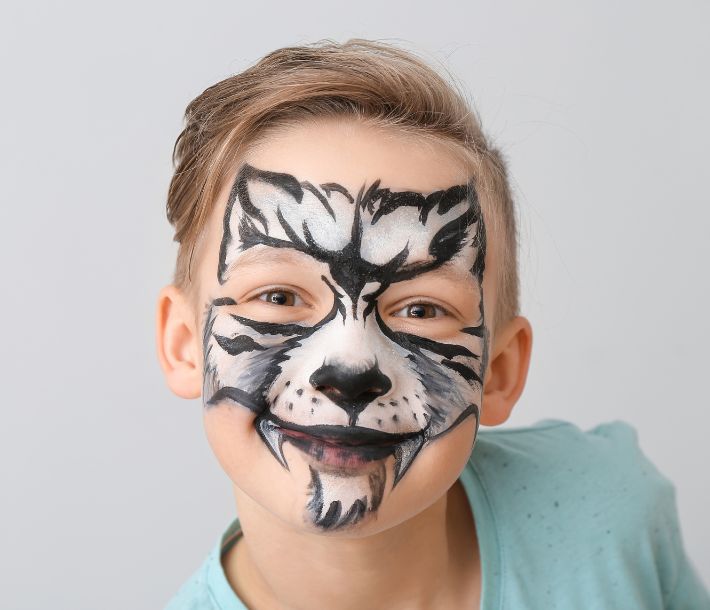
The Fearsome Werewolf
Start by applying a grey base to the entire face with a wet brush. Then, use brown and black face paint to create fur-like strokes working outward from the nose. Add darker strokes around the eyes and mouth to create depth. Paint the nose black and add whisker spots.
Finally, use white paint to add highlights and fangs, creating a realistic, three-dimensional effect that will impress any Halloween gathering.
Growing Your Face Painting Business
As your face painting skills develop, you might consider turning your hobby into a business. The face painting industry offers numerous opportunities for professional face painters. Start by practising with willing friends and family, then gradually build your skills!
Ready to Party?
Remember, becoming great at face painting takes time and practice. Don't be discouraged if your first attempts don't look exactly like the reference photos - every professional face painter started as a beginner. Keep practising, stay patient, and, most importantly, enjoy the creative process.
Ready to start your face painting journey? Visit our store to buy face painting supplies and begin creating magical moments one face at a time. Whether you're painting for fun or planning to build a face-painting business, the skills you've learned here will provide a solid foundation for your artistic adventure.
