
Prepare for the Parade with Our Easter Hat Ideas
10/02/2025
It's that magical time of year again when schoolyards across Australia burst into life with the cherished tradition of the Easter hat parade! From creative egg carton hats to elegant Easter bonnets adorned with fluffy toy chicks, this special celebration brings out the craftiness in parents and kids alike.
Whether you're a first-time creator feeling a bit nervous about making an Easter hat or a seasoned pro looking for fresh inspiration for your child's Easter bonnet parade, we've got you covered with ideas ranging from wonderfully simple to show-stopping.
At Shindigs, we understand that crafting the perfect Easter hat can seem daunting, but with our handy guide, you'll discover just how fun and rewarding it can be. So grab your glue gun, and let's hop into some egg-cellent Easter hat ideas that will make your little one shine!
Getting Started: Essential Materials for Your Easter Hat
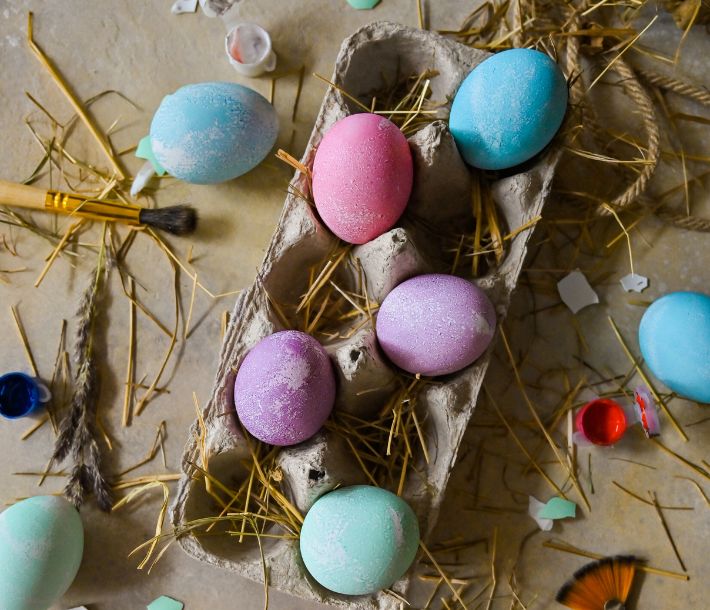
Before we dive into our creative easter hat ideas, let's gather our supplies. The good news is that creating a stunning easter hat doesn't require breaking the bank! Visit Shindigs to find these materials at budget-friendly prices. Buying items like plastic eggs in bulk (try two dozen plastic eggs) can save you money and give you plenty of backup decorations!
Here's what you'll need for most projects:
-
A base hat (straw hat or easter bonnet works brilliantly)
-
An Easter Basket to carry on the day
-
Hot glue gun and glue sticks
-
Ribbons in various spring colours
-
Easter decorations like plastic eggs and fluffy toy chicks
-
Egg cartons (these are surprisingly versatile!)
-
Cotton wool balls
-
Tissue paper
-
Cardboard
-
Basic craft supplies (scissors, sticky tape, pipe cleaners)
Classic Easter Hat Designs for Beginners
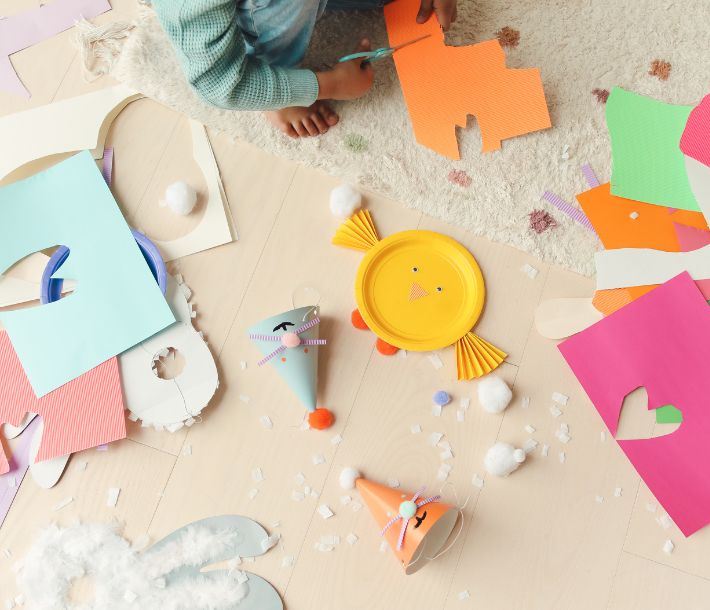
Simple Egg Carton Creation
Don't let the humble egg carton fool you – it's a crafter's secret weapon! Start with two egg cartons and cut out individual cups. Paint them in pastel colours and attach them around the brim of a basic hat using your hot glue gun: nestle small plastic eggs or fluffy toy chicks in each cup.
Add ribbon around the hat's crown, and voilà – you've created a charming easter bonnet that looks far more complicated than it actually is!
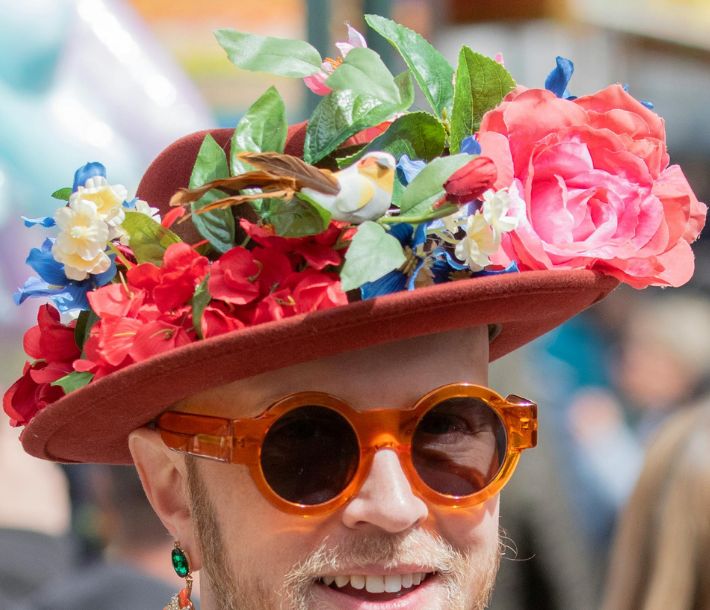
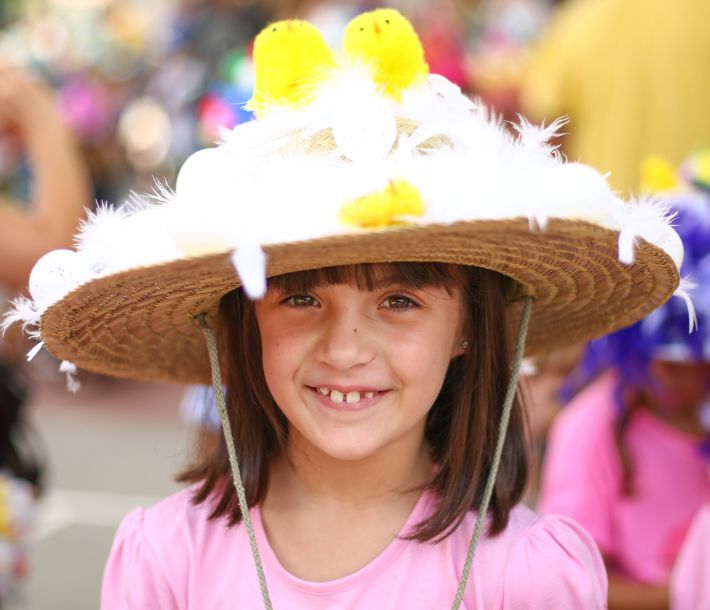
Traditional Easter Bonnet with Spring Flowers
For a classic look that never goes out of style, transform a simple straw hat into a blooming beautiful easter bonnet. Start by wrapping a pretty ribbon around the hat's crown and securing it with hot glue.
Create tissue paper flowers in soft spring colours (pink is always a winner!) and arrange them around the brim. Add mini fluffy toy chicks nestled among the flowers, and finish with flowing ribbons at the back.
You could even add sparkly mini carrots with 1-2 bunnies hidden amongst your tissue paper flowers to create a funky carrot hat. This design is pretty easy to customise and never fails to impress at the easter hat parade!
Fun and Creative Easter Hat Ideas
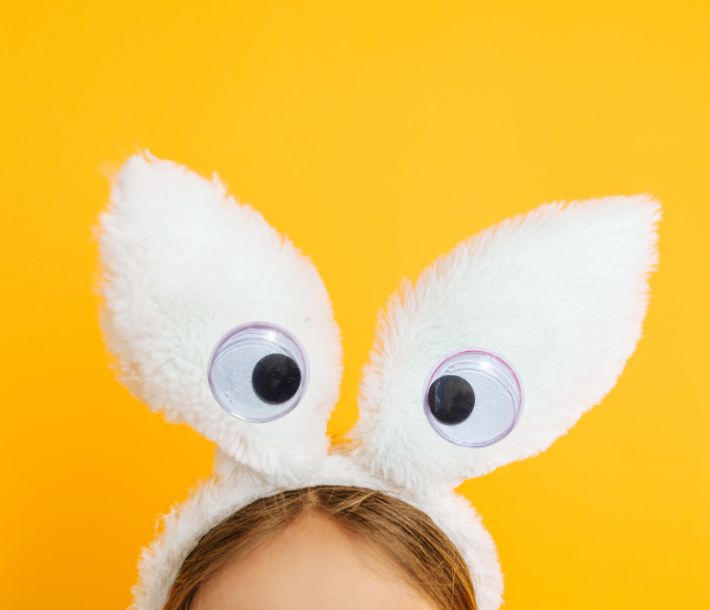
Bouncing Bunny Hat
This adorable creation is always a crowd-pleaser! Start with a classic party hat base and add bunny ears created from white cardboard. Cover the ears with cotton wool balls for that fluffy texture, and add a pink centre to each ear using felt or paper. Draw or attach googly eyes at the front, and create a cute nose using a concertina fold of pink paper.
The finishing touch? A bow tie under the chin to keep your bouncing bunny securely in place!
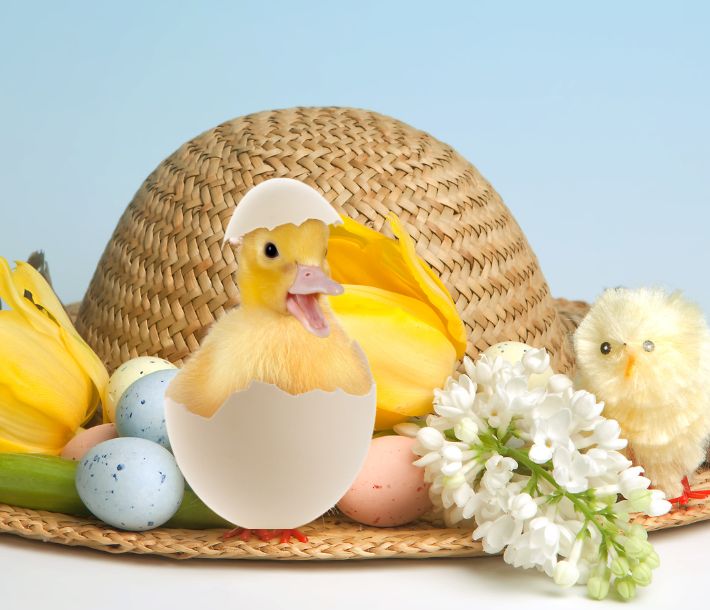
Chick in a Cracked Egg Design
A great idea is sure to stand out: create a cracked egg hat! Use paper mache over a balloon to form the egg shape, then cut a zigzag pattern to make it look cracked. Paint it white, and nestle adorable baby chicks inside using hot glue. Add feathers and stickers around the base for extra flair. This show-stopper requires a bit more time but is worth every minute!
Show-Stopping Easter Parade Hats
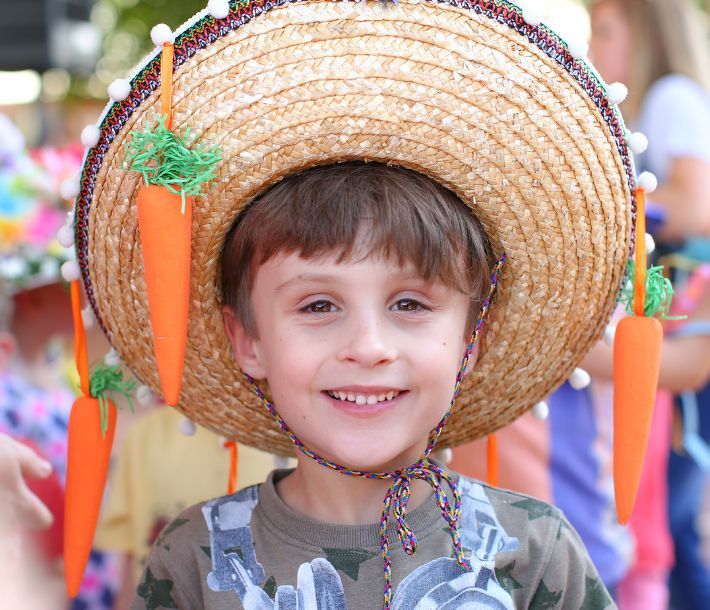
The Carrot Patch Paradise
Transform your child's head into a miniature vegetable garden! Create carrots using orange cardboard rolled into cones and topped with green pipe cleaners for the leaves. Arrange these around the brim of a hat covered in brown tissue paper 'soil'.
Add little white flowers and perhaps a rabbit peeking out in your carrot hat. Secure everything well with your glue gun – this creative design needs to stay put during the parade!
The Easter Garden Party
Turn a wide-brimmed straw hat into a magical Easter garden! Create a base of green tissue paper 'grass', then build up your scene with a fun assortment of paper flowers, tiny rabbits, and scattered plastic eggs. Add sparkle with carefully placed glitter (parents, you've been warned!), and include some spring butterflies on thin wire so they appear to hover above the garden. This hat tells a story and creates a beautiful photo opportunity!

Quick and Easy Last-Minute Easter Hat Ideas
Left your easter hat creation to the last minute? No worries! Here are some fast but fantastic ideas:
-
Transform a paper plate into a nest by painting it brown and adding mini eggs
-
Create a simple bunny party hat using a headband with bunny ears and a bow
-
Decorate a basic party hat with easter stickers, ribbon, and a fluffy chick on top
The key to last-minute success is keeping it simple but adding one special element that makes it pop!
Tips for a Successful Easter Hat Parade
Make sure your masterpiece stays parade-ready with these handy tips:
-
Do a test run at home to ensure the hat fits comfortably
-
Check the weather forecast and weatherproof if needed
-
Transport your hat in a box larger than the creation
-
Take plenty of photos before the parade (just in case!)
Ready to Create Your Easter Masterpiece?
Whether you're crafting a simple Easter bonnet with ribbon and flowers or building an elaborate Easter hat complete with bouncing bunny ears and baby chicks, remember that the best creations are made with love and laughter. The Easter hat parade is about more than just showing off your creative skills – it's about making memories that will last long after the last egg has been found.
Need supplies for your Easter hat masterpiece? Pop into Shindigs for everything from straw hats and glue guns to plastic eggs and fluffy toy chicks. We've got all the essentials to bring your creative vision to life!
From all of us at Shindigs, happy crafting! We can't wait to see what egg-cellent Easter hat ideas you come up with this year!


